System
Where: Panel › System Configuration · Serial menu s
Languages, startup mode, power saving, the button menu, the configuration file and the maintenance commands of the MS2net reference station.
From top to bottom the section holds: System Firmware and Last restart; RTCM messages; Check for New Firmware, Allow Beta Firmware, Check when the page opens, Update to v… and Upload BIN, explained in Firmware update; Language, Display language and Startup Mode; Power Saving; Geofence; Button menu; Configuration file; Log to SD Card and the items under it, explained in MicroSD logging; Bluetooth Protocol; Factory Reset; Debug Zone; Find the station.
Last restart
Under the installed version, Last restart says why the station started the last time
(serial menu: the Last reset line of s).
| Code | Meaning |
|---|---|
ESP_RST_POWERON |
it was switched on |
ESP_RST_SW |
it restarted on purpose: firmware update, factory reset, loaded configuration file, change of Bluetooth protocol, profile change from the button menu or the serial menu; a note after the code says why the firmware forced it, for example loop watchdog when the station had stopped responding |
ESP_RST_PANIC, or a code with WDT |
it crashed; a note after the code says where |
Crash history, under it, keeps the last five crashes and faults, oldest first, each with the
time the station last knew before it and the firmware version. It stays across restarts and
updates, and the line shows only when there is something in it (serial menu: the
Crash history lines of s).
After an unexplained crash, send a screenshot of these lines to the team.
RTCM messages
Under Crash history, RTCM messages counts the correction messages type by type,
to tell whether they all get through. The page refreshes it every second; the serial menu
prints it at that moment with s → m. The words beside the title say what is counted:
| Title | What is counted |
|---|---|
| Base: sent by the station | the RTCM the station produces and hands to its outputs (NTRIP server, TCP server, ESP-Now); every message is checked |
| Rover: received by the station | the RTCM the GNSS module really receives, whatever the source: NTRIP client, ESP-Now, LoRa radio |
| No RTCM yet | nothing counted since the station started |
| Column | Meaning |
|---|---|
| Type | RTCM message number (1005, 1074, 1230…), in increasing order |
| Count | messages of that type received intact |
| Age (s) | seconds since the last one: it should stay within the interval of that type (0 or 1 for a message sent once a second); an age that keeps growing means the type no longer arrives |
| Errors | messages of that type that failed the check (CRC): 0 is right, a number above 0 is shown in red |
Under the table, Other types counts together the types beyond the first 16, and Total errors all the damaged messages, including those whose type could not be read.
The counts start again at every restart and whenever the station passes from base to rover
or back. The page is open only in Config mode, where rover and base work stops: there it
shows what was counted before, with the ages growing. To watch a rover or a base at work,
press m again and again in the serial menu (s).
Do all the corrections arrive?
On the rover, every type the base sends (see RTCM Rates) should be in the list, with a small age and no errors. A missing type, or one whose age keeps growing, points to the link (caster, ESP-Now, LoRa radio) or to a rate that is off on the base.
Languages and startup mode
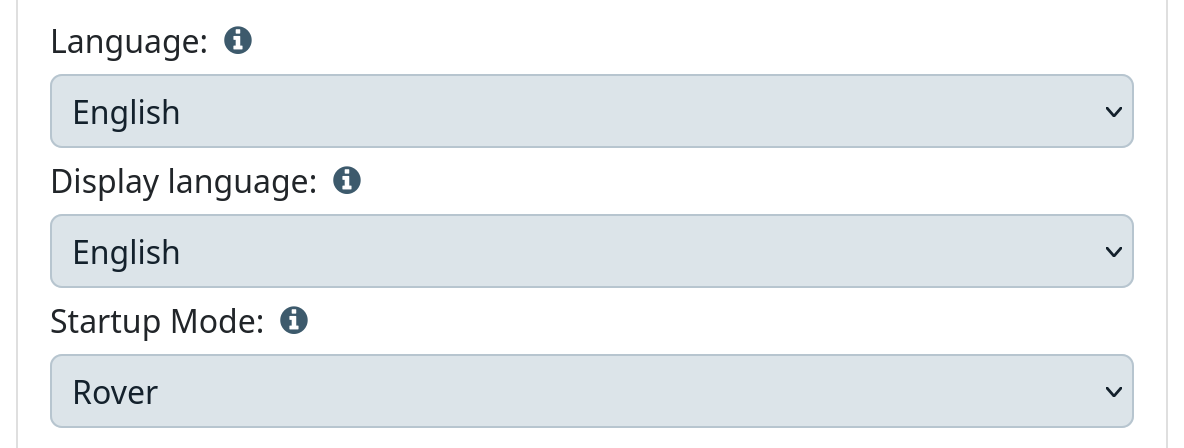
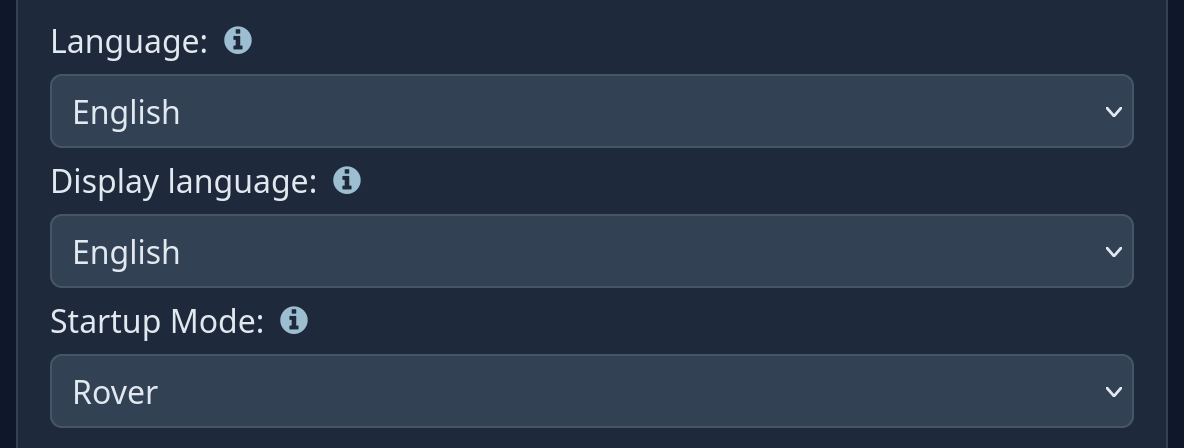
Figure 1 — Language and Startup Mode
| Field | What it does | Values | Factory | Serial |
|---|---|---|---|---|
| Language | Language of this page. Kept in the browser: it changes at once, needs no Save and does not touch the station. | English, Italiano, Русский, العربية | English | — |
| Display language | Language of the display. The display fonts have no Cyrillic or Arabic letters. | English, Italiano | English | — |
| Startup Mode | Mode the station starts in at power-on or restart, and returns to when it leaves Config mode. It is the mode written in the page header, and it follows the mode last started: Rover or Base from the button menu changes it too. WiFi Config: every power-on opens Config mode, with the station's own network open to anyone nearby; leaving it goes back to the last mode used, Rover or Base. | Rover, Base, WiFi Config | Rover | s → B / R (switch at once) · s → w (WiFi Config at power-on) |
Power Saving
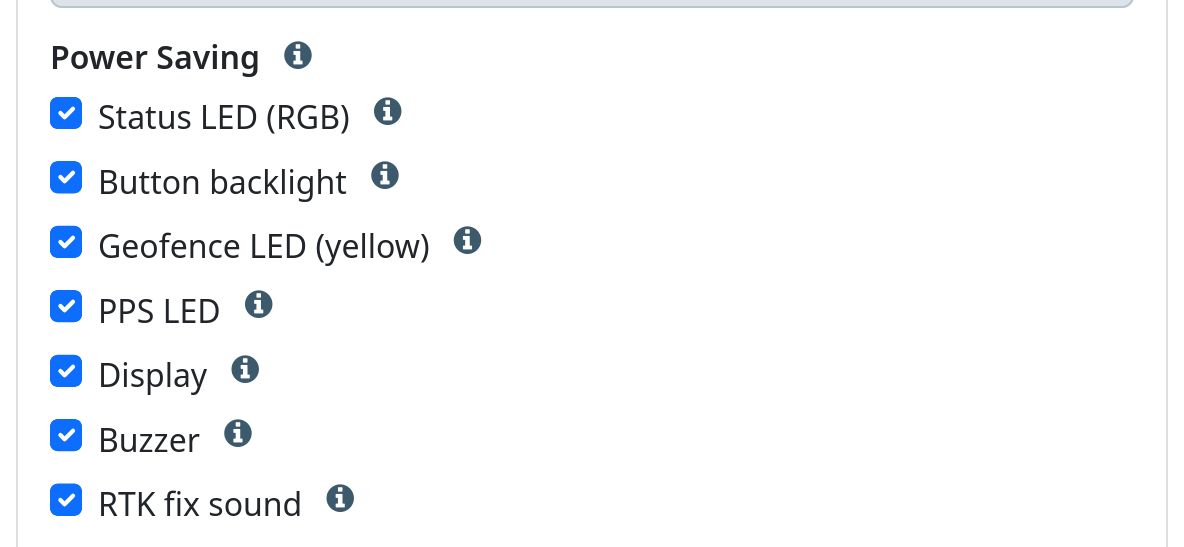
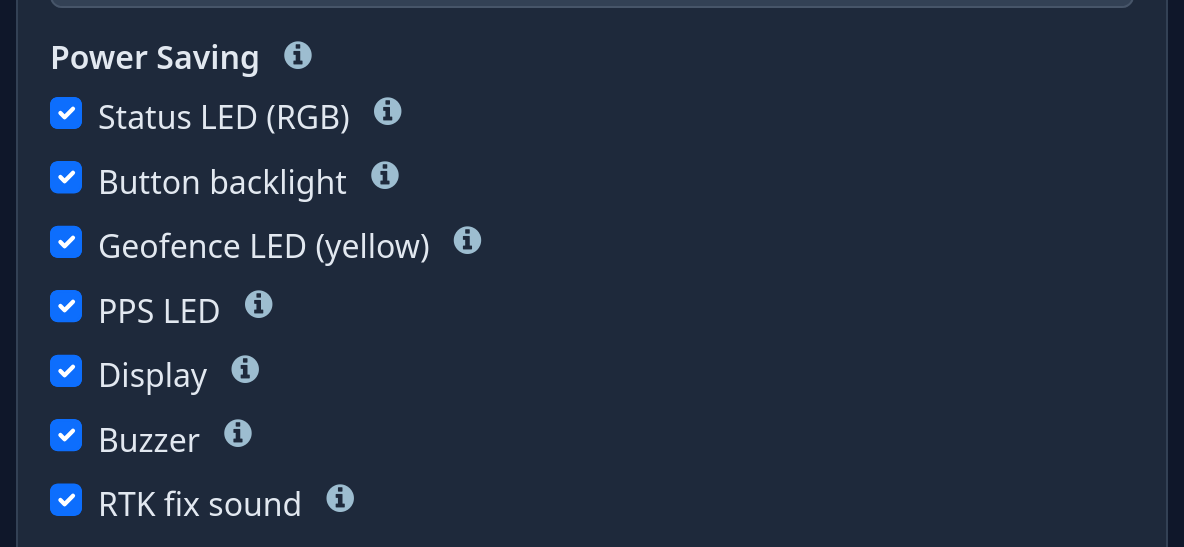
Figure 2 — Power Saving
Seven switches that turn off what is not needed and make the battery last longer. All are on
from the factory. In the panel they take effect at Save; in the serial menu
(s → l) each item acts at once.
| Switch | What it turns off | Serial |
|---|---|---|
| Status LED (RGB) | The coloured NET LED showing WiFi, Bluetooth and working mode; the display still shows the state. | s → l → 1 |
| Button backlight | The light under the button. | s → l → 2 |
| Geofence LED (yellow) | The yellow GEO LED driven by the GNSS module; it lights only with the Geofence on. | s → l → 3 → 2 |
| PPS LED | The LED blinking with the GNSS time pulse. It is wired to the pulse itself: turning it off also stops the PPS output. | s → l → 4 |
| Display | Puts the screen to sleep; it wakes when the switch is turned back on. | s → l → 5 (On, Sleep) |
| Buzzer | The beeps of the button and of the mode changes; low battery warnings sound anyway. | s → l → 6 |
| RTK fix sound | The beeps of the RTK fix in rover, described below. | s → l → 9 |
RTK fix sound works only in rover and only with Buzzer on:
| Sound | When |
|---|---|
| two short rising beeps | the RTK fix arrives |
| one long beep | the RTK fix is lost (float or no corrections) |
A change sounds only once it has lasted 3 seconds, so a solution swinging between fix and float stays quiet; nothing sounds before the first fix after the rover starts.
Serial menu only: 7 Disable ALL LEDs and 8 Enable ALL LEDs switch the four LEDs
together: status, button backlight, geofence and PPS.

Figure 3 — Front: what Power Saving turns off
The green RTK LED is wired to the GNSS module and cannot be turned off.
Geofence
Up to four circular fences, each a centre and a radius. The GNSS module checks them by itself and lights the yellow GEO LED directly, without the processor. Off from the factory. In the panel the group sits under Power Saving, and its fields appear once Enable Geofence is ticked.
| Field | What it does | Values | Factory | Serial |
|---|---|---|---|---|
| Enable Geofence | Turns on the check of the fences that have a radius. | on, off | off | s → l → 3 → 1 |
| LED on | When the GEO LED lights. | Outside every fence, Inside a fence | Outside every fence | s → l → 3 → 3 |
| Confidence level | How sure the GNSS module must be, given the accuracy of the position, before it says inside or outside. Higher levels wait longer near the edge. | No check, 68%, 95%, 99.7%, 99.99%, 99.999% | No check | s → l → 3 → 4 |
| Fence 1 … Fence 4: Latitude, Longitude | Centre of the fence, in decimal degrees. | −90 to 90, −180 to 180 | 0 | s → l → 3 → 5…8, then 2, 3 |
| Radius (m) | Radius of the fence in metres; 0 turns that fence off. | 0 to 4,000,000 | 0 (off) | s → l → 3 → 5…8, then 4 |
| Geofence LED (yellow) | In Power Saving: must be on for the LED to light. | on, off | on | s → l → 3 → 2 |
From the panel the fences reach the GNSS module when rover or base starts, so also when the station leaves Config mode after Save. In the serial menu each change acts at once.
| GEO LED | When |
|---|---|
| On | LED on = Outside every fence (factory): the position is outside all the fences in use. LED on = Inside a fence: it is inside at least one. |
| Off | The position is on the other side; or it is unknown (no fix yet, or not as sure as the Confidence level asks); or the geofence is off, no fence has a radius, or the Geofence LED (yellow) switch is off. |
Serial menu only (Geofence menu): Use the
current position as centre (needs a fix; a radius under 1 m becomes 50 m), Clear this
fence, Clear all fences, and the State line, which reads from the GNSS module
whether the station is inside, outside or unknown, overall and fence by fence.
Check that it works
On the bench, with a fix: in the serial menu open a fence, choose Use the current
position as centre and turn the geofence on: the state reads inside. Move the
centre by about 1 km (0.01 degrees of latitude): the state reads outside and,
with the factory LED on, the GEO LED lights.
Button menu
Two switches add the optional views to the button menu. Both are off from the factory; a view appears in the menu as soon as Save is pressed, with no restart. Panel only.
| Switch | What it adds to the menu |
|---|---|
| Position view | Position: the coordinates of the station on the display, see Position view. |
| Skyplot view | Skyplot: the satellites in the sky, by constellation, see Satellite view. |
Turning a switch off while its view is on the display brings the normal screen back.
Configuration file
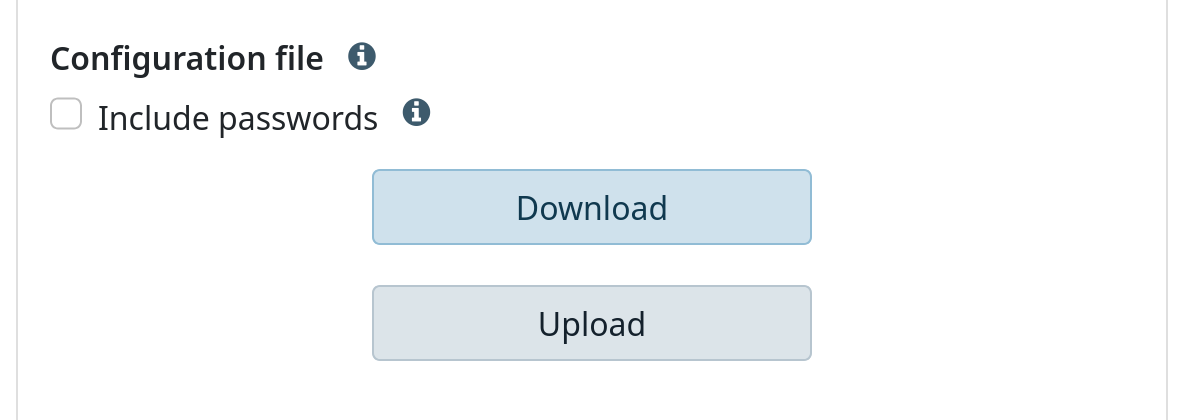
Figure 4 — Configuration file
Saves the settings to a file on the PC, to keep a copy or to set up another station the same way. Panel only.
Download saves the settings of the profile in use, as last saved, to
MS2net-XXXX_config.txt (the last four characters of the serial number). Include
passwords decides whether the file carries the WiFi, NTRIP and remote configuration
passwords:
| Include passwords | Downloaded file | Loading it |
|---|---|---|
| off (factory) | no passwords: a lost file gives nothing away | the station keeps the passwords it already has |
| on | passwords included; the name ends in _with_passwords |
the file's passwords replace those already saved |
Upload loads such a file into this station or another one: it applies the file, saves it and restarts in the startup mode the file sets (window Configuration loaded).
- The name on the network is never applied to the station that loads the file, and the lists of base coordinates are never in the file.
- Only a configuration file of this firmware is accepted; any other file is refused with this is not an MS2 configuration file, one larger than 16 KB with file too large for a configuration.
Before an important change
Download first: if the result is not what you wanted, Upload the file and everything returns as it was.
Other items
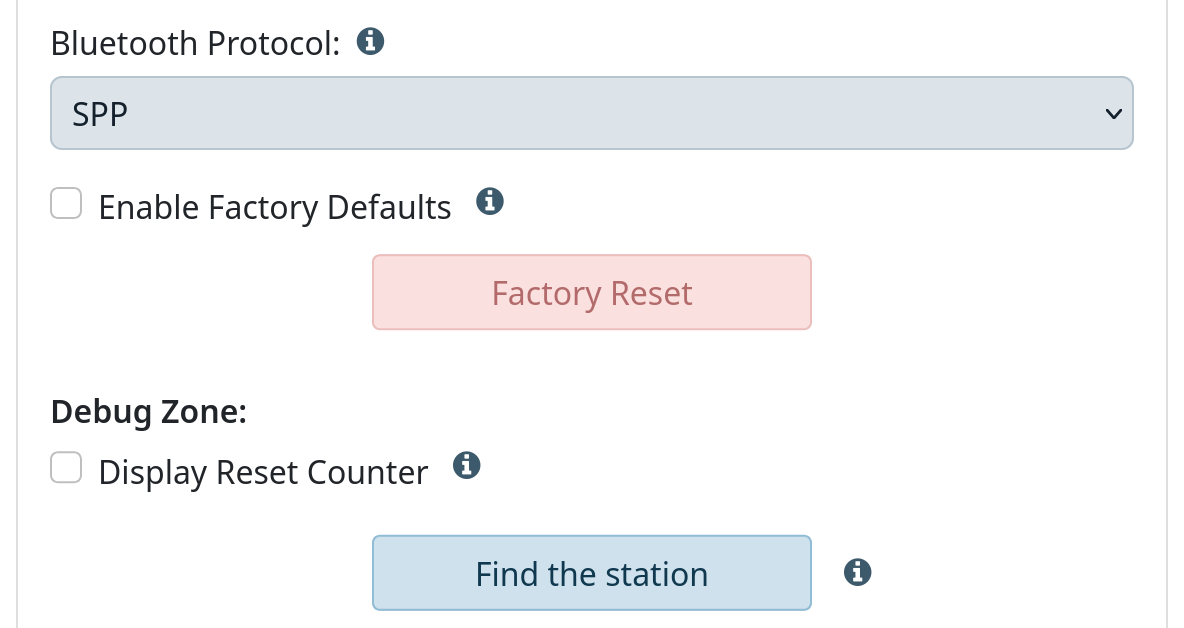
Figure 5 — Bluetooth, factory reset and more
Bluetooth Protocol
| Value | When to use it | Serial |
|---|---|---|
| SPP (factory) | Classic Bluetooth, used by nearly all field and GIS apps. | s → b: Classic |
| BLE | Bluetooth Low Energy, for apps that need it. | s → b: BLE |
| Off | Bluetooth off, to save power when data goes over WiFi or cable only. | s → b: Off |
In the serial menu b cycles through the three values; the change is applied when the
System menu is closed. Switching between SPP and BLE restarts the station once, when
the change is applied: from the panel, when the station leaves Config mode after Save.
Turning Bluetooth off, or back on with the same protocol, does not.
Factory reset
Factory Reset brings the station back to how it left the factory. The button stays grey
until Enable Factory Defaults is ticked, and acts at once, without Save: the
station restarts (see Windows). Serial menu: s → r, then y
(any other answer gives Reset aborted).
What the factory reset erases
Every setting kept inside the station, for all profiles: WiFi networks, the remote
configuration password and the lists of base coordinates included. The GNSS module
goes back to its defaults. On the microSD card the settings copy and the lists of base
coordinates of the profile in use are removed; the recordings and the copies of the other profiles (MS2_Settings_N.txt)
are kept. Download the configuration file first if you may need
it again.
Debug Zone
Display Reset Counter shows on the display a small number counting the restarts not
caused by a power-on. Meant for testing; factory value off. Serial: s → o → 1.
Find the station
The station beeps three times a second for 3 seconds while the status LED flickers white, to tell which one this page belongs to when there are several on the table. It works even with the buzzer or the status LED turned off in Power Saving. Meanwhile the page shows The station beeps for 3 seconds and the button stays disabled. Panel only.

Figure 6 — Front: NET LED flickering white
Serial menu only
| Item | What it does | Values | Factory | Serial |
|---|---|---|---|---|
| Shutdown if not charging | Switches the station off after this many seconds without external power. | 0 (off) to 604800 s (7 days) | 0 | s → c |
| Set time zone offset | Offset from UTC for the station clock: hours, then minutes and seconds. | −23 to 23 h, −59 to 59 min/s | 00:00:00 | s → z |
| Shut down | Switches the station off at once, like holding the button for two seconds. | — | — | s → S |